1) Open Outlook.
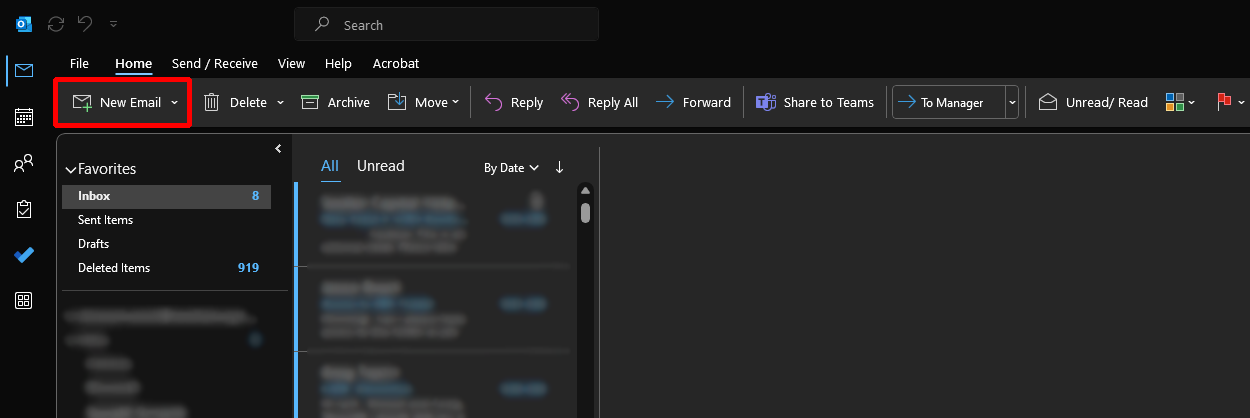
2) Click on the "New Email" button.
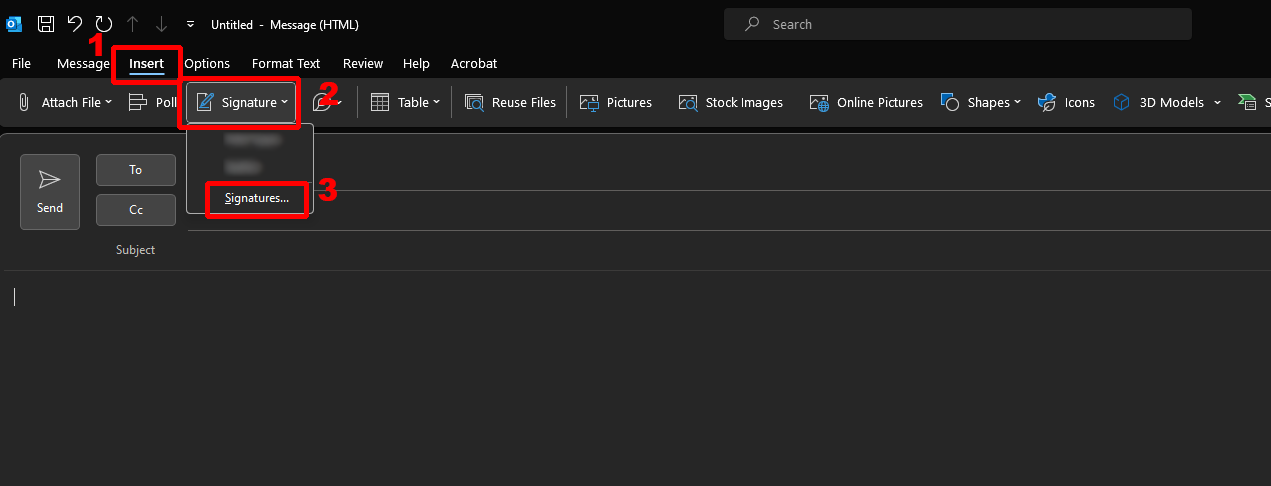
3) Go to the Insert tab (1), then select the "Signature" button (2), then press "Signatures..." (3).
4) In the "Signatures and Stationery" window that appears, press the "New" button, type a name for your signature, then press OK.
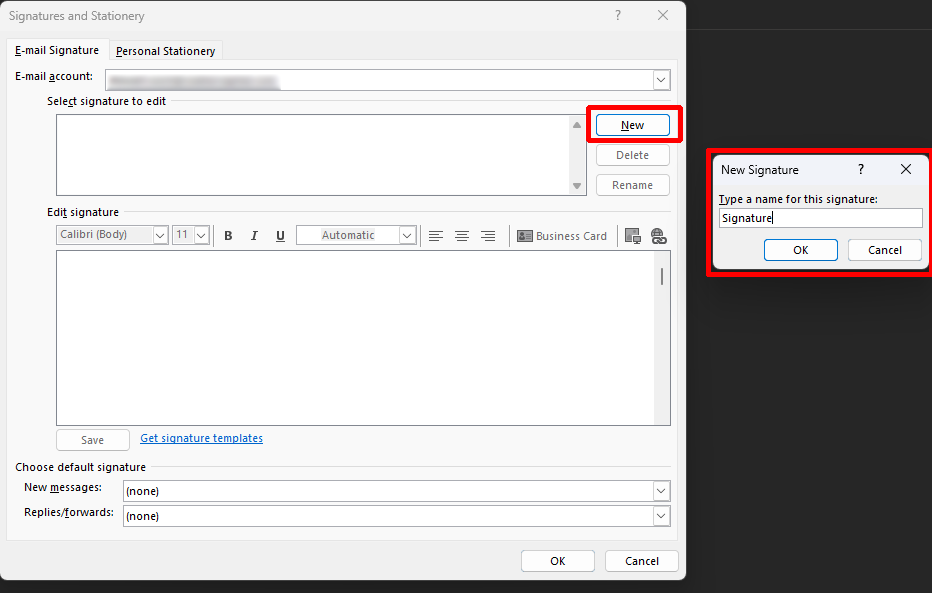
You will now be able to edit the signature in this field.
5) Download your company's signature template from the bottom of this guide, then open it using Microsoft Word.


6) Edit the file, so it contains your personal work information. Then, highlight everything in the file, then right-click and select Copy.

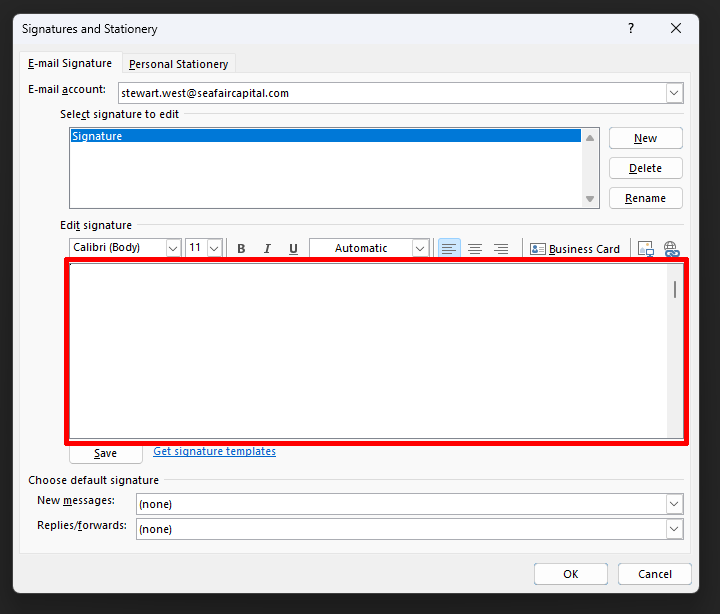
7) Now go back to the Signatures & Stationery window in Outlook, right-click the boxed area, and under "Paste Options:"
select to "Keep Source Formatting" (icon with paintbrush). Then press OK at the bottom.

Note: Your signature may not look perfect from inside this window - but to make sure it works, you can click the Signature button,
and your signature's name will appear in the drop-down list.
|
Rate this Topic:
|
|||
|