1) Open Outlook.
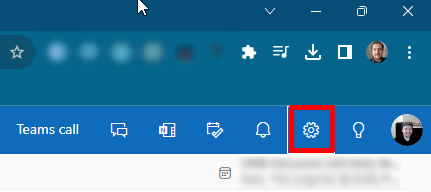
2) In the top-right corner, click on the gear to go into your Settings.
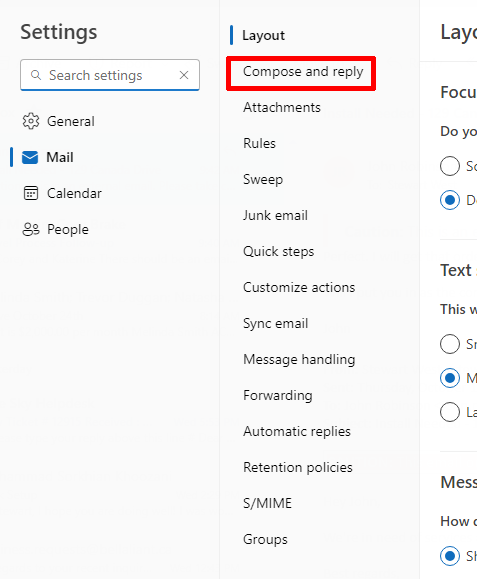
3) The Mail category will open by default - in the second column, go into "Compose and reply".
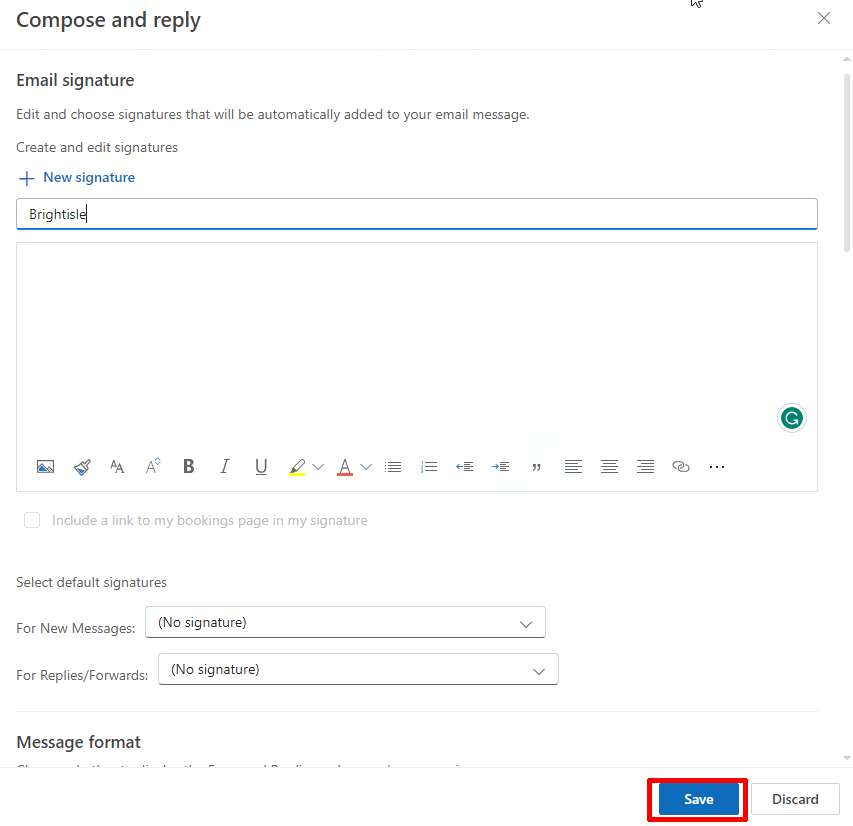
4) Create a name for your signature, then press Save at the bottom of the page.
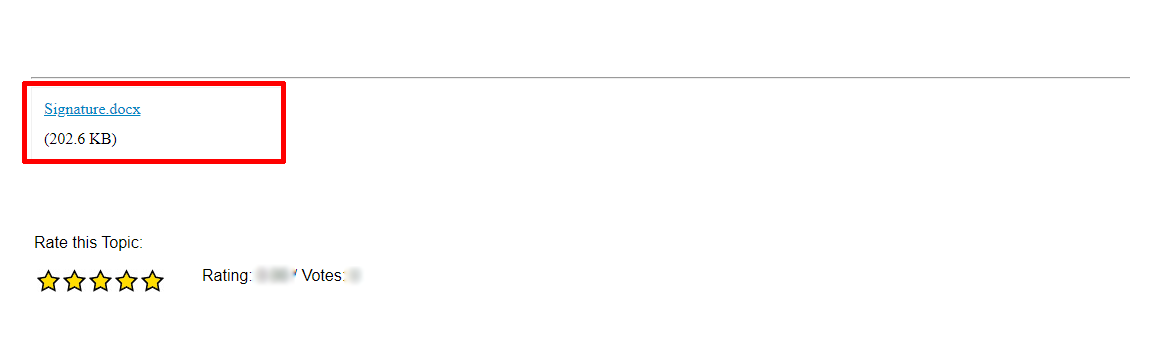
5) Download your company's signature template from the bottom of this guide, then open it using Microsoft Word.
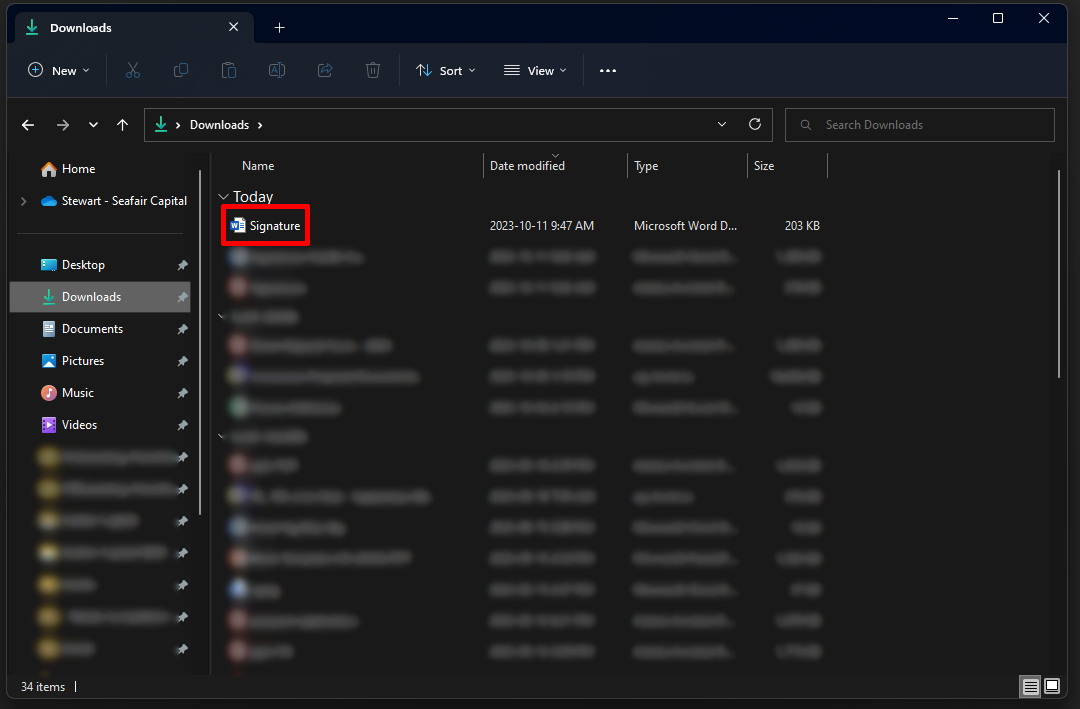
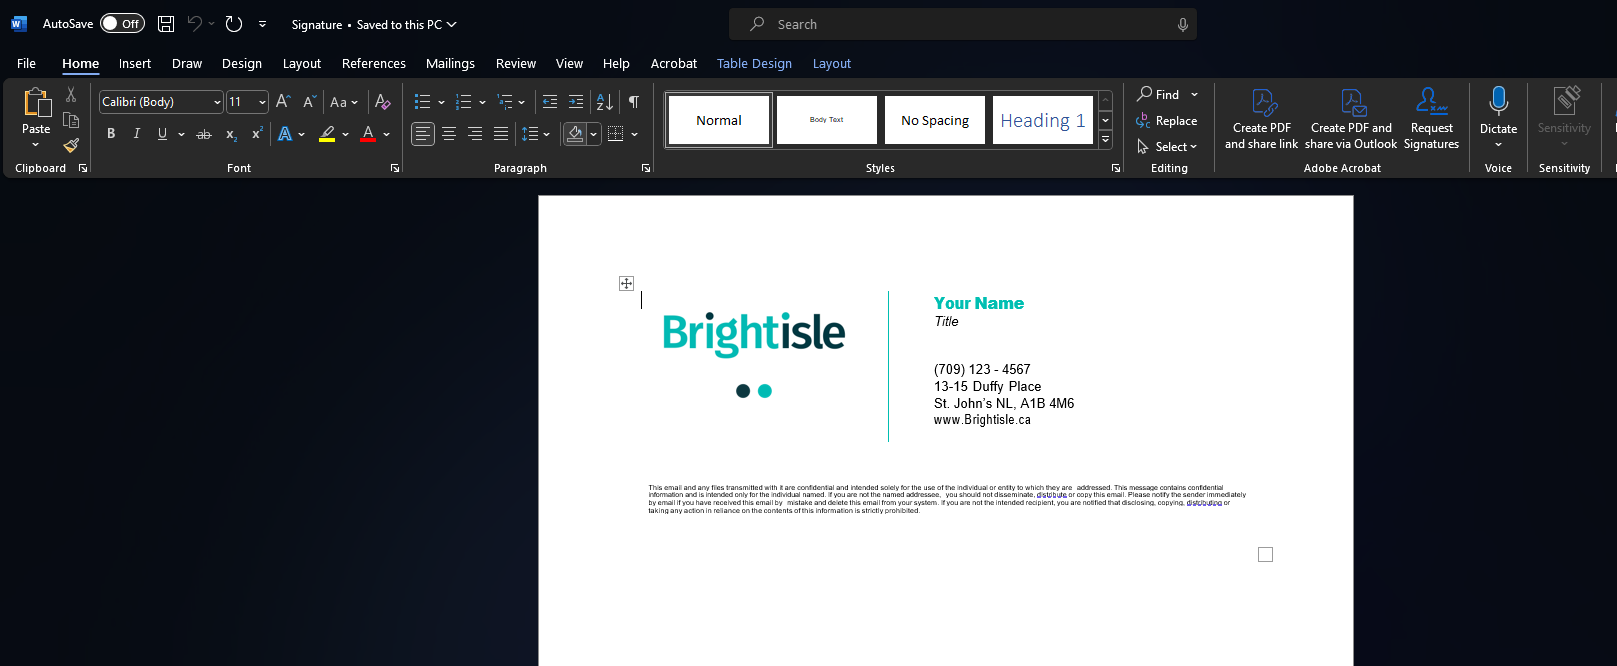
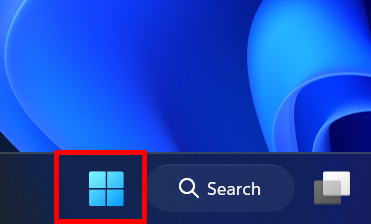
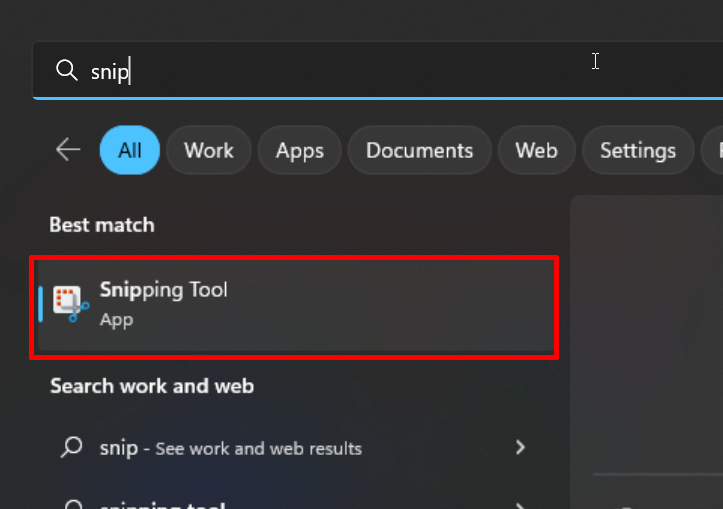
6) Edit the file, so it contains your personal work information. Next, we need to open Snipping Tool. Left-click on the Start button (4 squares on the bottom bar), then search for "snip" - the Snipping Tool should appear. Left-click on it to open the tool.

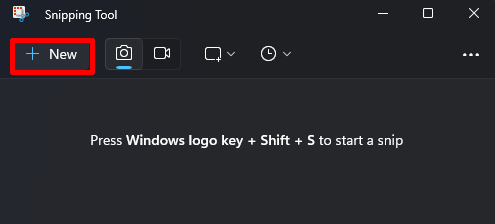
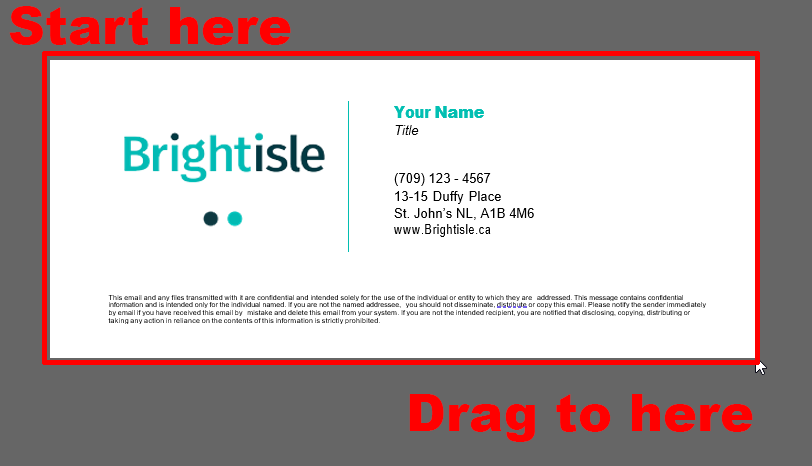
7) With the Snipping Tool now open, click New, then press and hold to drag the mouse over your signature.
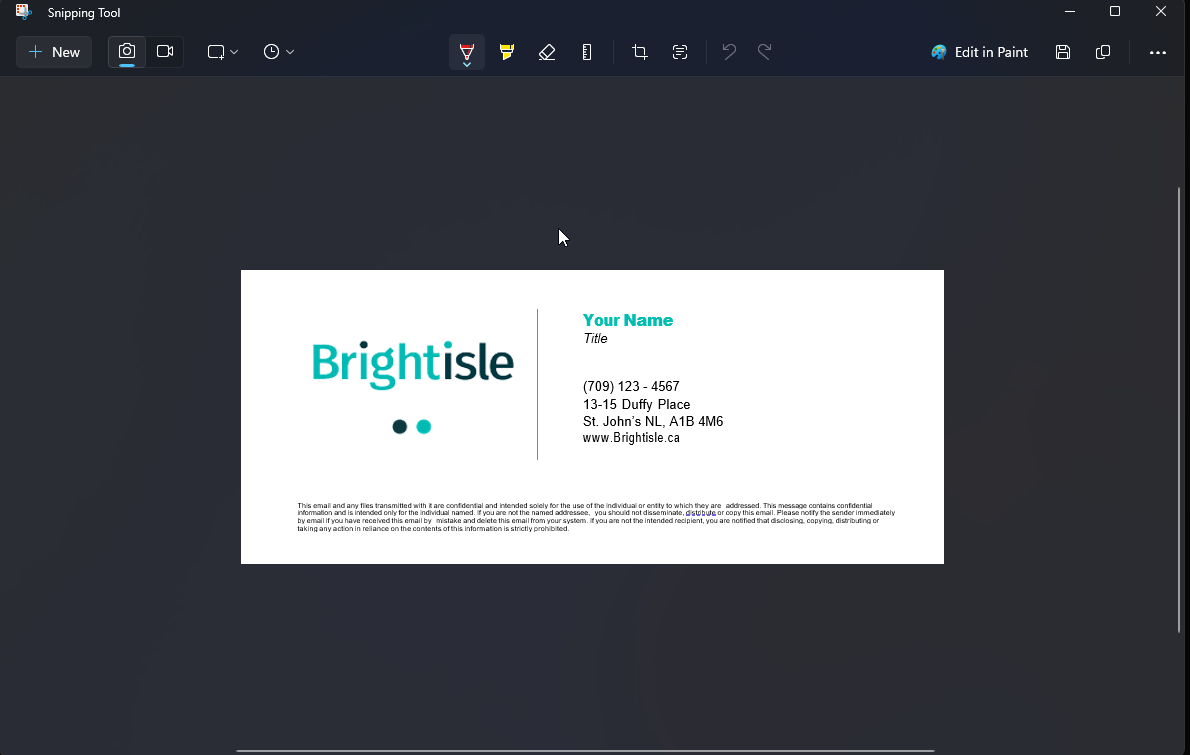
Now Snipping Tool will look like this, from your capture:
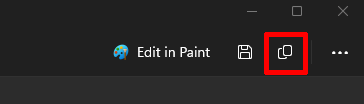
7) Press the Copy button in the top-right corner to copy this snippet as an image. Do not close the Snipping Tool yet, just in case of any issues in the next step.
8) The first time you right-click within the box, you may see a message that outlook.office365.com wants to see text and images copied to the clipboard (as seen below). If you see this, click Allow.
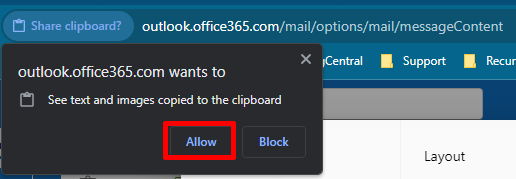
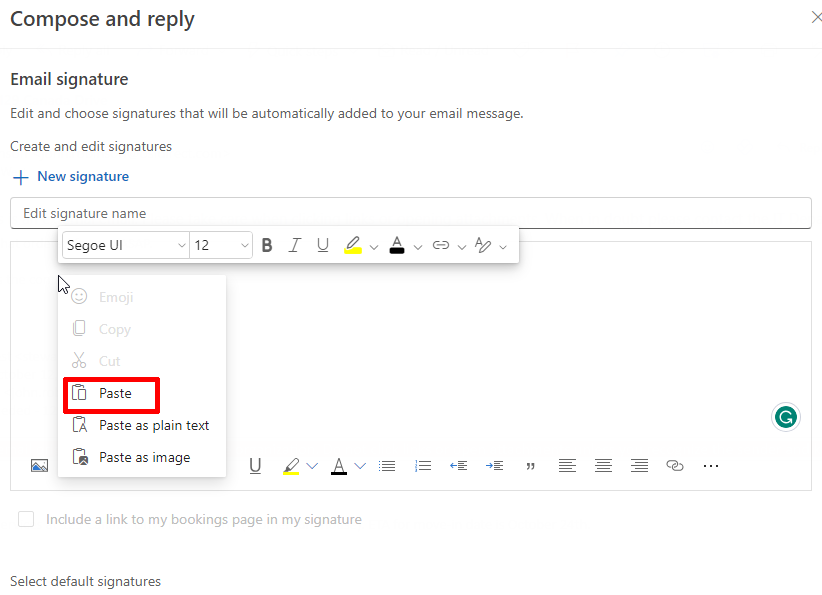
Now that you've allowed Outlook to do this, you can right-click inside the box again, and click "Paste".
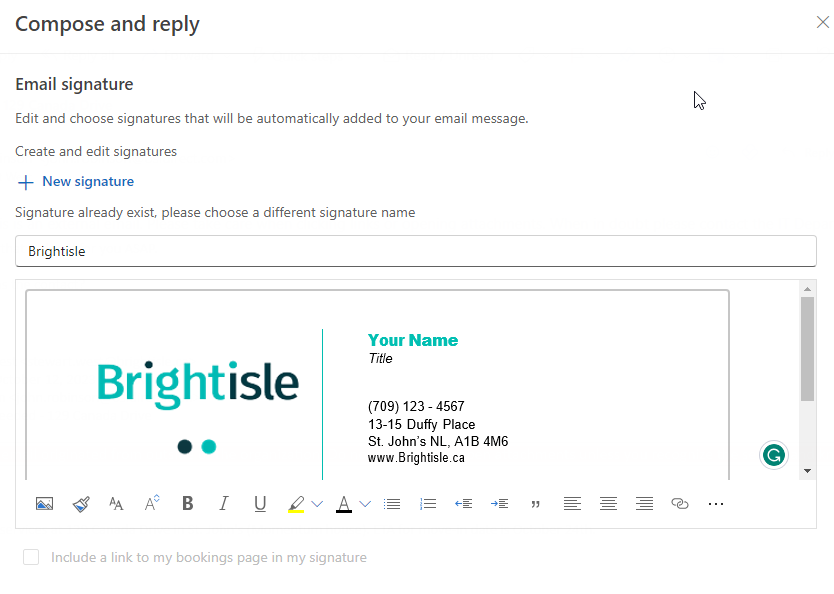
Now your final signature should look like this:
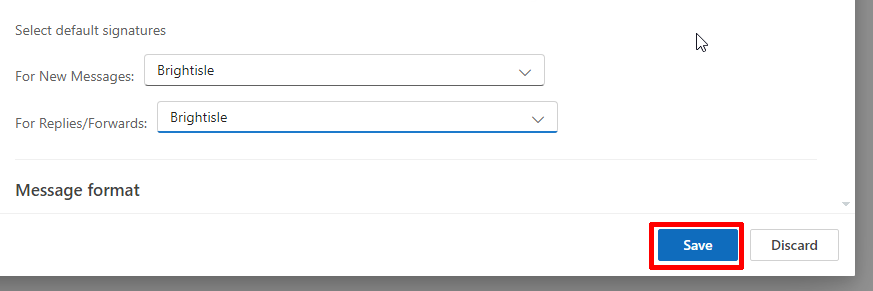
9) Now, press Save at the bottom of the page. By default, Outlook for Web will use your signature for new messages.
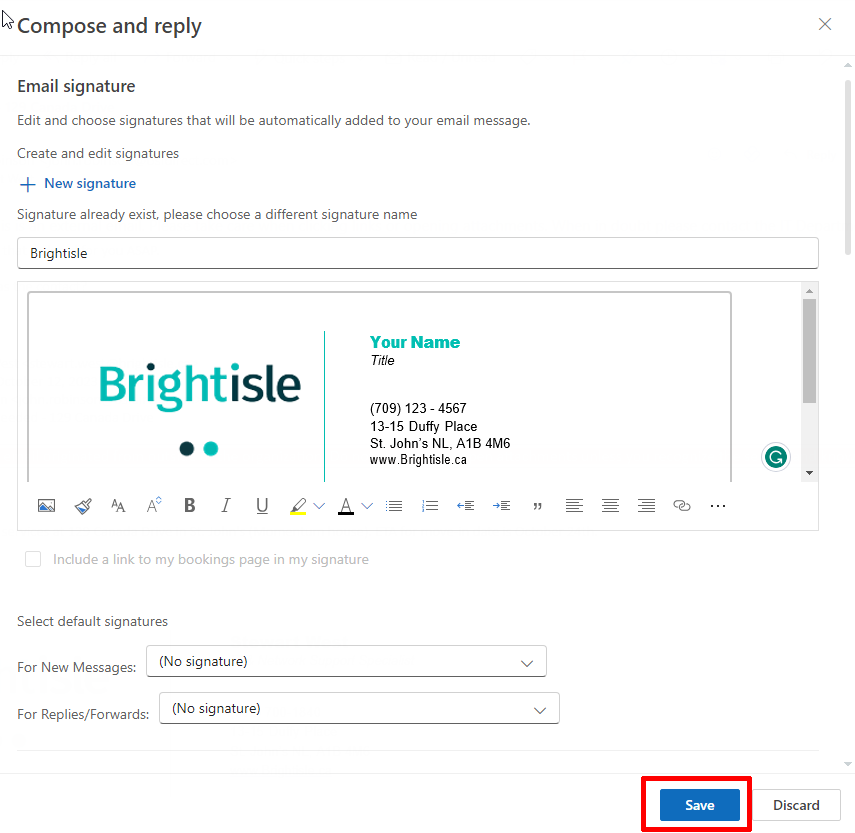
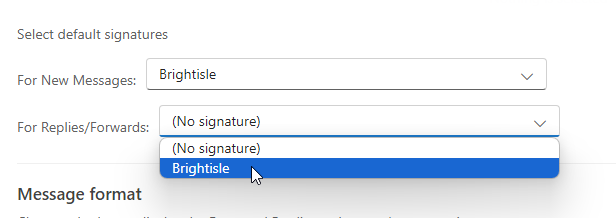
10 - Optional) If you want to have your signature whenever you reply or forward a message as well, click on the drop-down list "For Replies/Forwards:", then select the signature from there and again press Save when it appears.
|
Rate this Topic:
|
|||
|